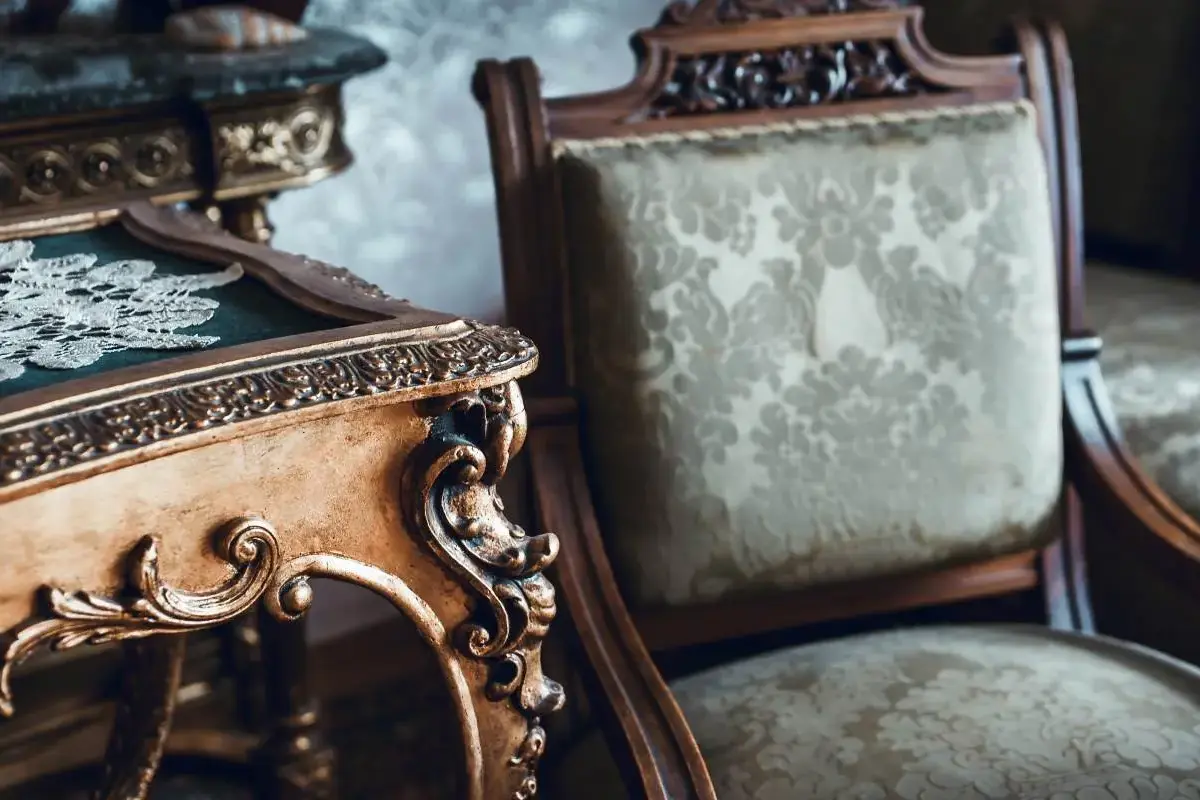
That old dresser sitting in the garage. The dining table with the wobbly leg you found at a flea market. They’re not just old furniture; they’re stories waiting for a second chapter. Honestly, the thrill of the hunt is only half the fun. The real magic happens when you roll up your sleeves and transform a forgotten piece into a functional work of art.
Let’s dive into the world of vintage and upcycled furniture restoration. This isn’t about achieving factory-perfect, sterile finishes. It’s about character, history, and sustainability. It’s about creating something utterly unique that your big-box store could never replicate.
First Things First: The Essential Pre-Restoration Checklist
Before you even think about paint or stain, you gotta do the groundwork. Rushing this part is, well, the number one reason projects fail. Here’s your non-negotiable starting point.
1. The Deep Clean
Decades of grime, wax, and who-knows-what can create a barrier between your furniture and any new finish. Mix a solution of mild dish soap and warm water. Use a soft cloth—never a dripping wet sponge—to gently clean every surface. For stubborn gunk, a little mineral spirits on a rag can work wonders. Let it dry completely. I mean, completely.
2. Assess the Damage and Structure
Give the piece a thorough once-over. Is it structurally sound? Wiggle it. Sit on it. Check for:
- Loose Joints: Chair rungs and table legs often come loose. A bit of wood glue and clamps can usually solve this.
- Veneer Issues: Is the veneer peeling? Don’t panic. You can often reactivate the old glue with an iron and a cloth, or carefully apply new glue.
- Water Rings & Stains: These can often be sanded out or treated with oxalic acid (a wood bleach)—just use extreme caution.
- Hardware: Check drawers, knobs, and hinges. Sometimes a simple clean and lubricant is all they need.
3. To Strip or Not to Strip?
This is a big one. If the existing finish is flaking, alligatored, or just plain ugly, stripping might be necessary. Chemical strippers are effective but messy; always work in a well-ventilated area. For a less toxic approach, citristrip-type gels are a popular choice. For paint, a heat gun can work but requires care to avoid scorching the wood.
But here’s a pro tip: sometimes, you don’t need to strip at all. If the finish is sound, a light sanding with 120-grit sandpaper is enough to “scratch up” the surface for a new coat of paint to adhere to. Saves a ton of time and effort.
Your Toolbox: Core Restoration and Upcycling Techniques
Alright, the piece is clean and stable. Now for the fun part. The technique you choose depends entirely on your desired outcome. Are you going for a classic refinish or a creative upcycle?
Refinishing Wood: Bringing Back the Natural Grain
This is for when you’ve found a gorgeous wood grain hiding under layers of neglect.
- Sanding: Start with a coarser grit (80-100) to remove old finish and imperfections, then move to finer grits (150, 220) to smooth everything out. Always sand with the grain, never against it, to avoid scratches. An orbital sander is your best friend for large, flat surfaces.
- Staining: Wipe on your chosen stain with a clean cloth, working in sections. Let it sit for a few minutes to absorb, then wipe off the excess. The longer it sits, the darker the hue. Let it dry for at least 24 hours.
- Sealing the Deal: A protective topcoat is crucial. For a durable, classic look, oil-based polyurethane is tough to beat. For a more natural feel, Danish oil or tung oil penetrates the wood. Water-based poly is low-odor and dries clear. Apply thin coats, sanding lightly with 320-grit sandpaper between coats for a glass-smooth finish.
The Art of the Upcycle: Paint, Decoupage, and Beyond
Maybe the wood isn’t worth showcasing, or you just want a pop of color. That’s where upcycling shines.
- Priming: This is the secret weapon for painting furniture. A good primer (like Zinsser Bulls Eye 1-2-3) blocks stains, prevents bleed-through, and gives your paint something to grip. Don’t skip it.
- Painting: Chalk paint revolutionized upcycling because it often requires no priming or sanding. It’s great for a matte, vintage look. For a more durable finish, acrylic latex paints topped with a protective wax or polycrylic are fantastic. Use a high-quality brush or a foam roller to minimize brush strokes.
- Distressing: Want that shabby-chic, lived-in feel? After your topcoat is dry, lightly sand edges, corners, and areas that would naturally get wear over time. It reveals a bit of the primer or wood underneath. The key is subtlety—less is almost always more.
- Decoupage: Got an ugly flat surface? Transform it with decorative paper, fabric, or even old maps. Mod Podge is your go-to adhesive and sealer for this. It’s a fantastic way to hide imperfections and add serious personality.
Tackling Common Vintage Furniture Problems
You will inevitably run into issues. Here’s how to handle a few of the classics.
Sticky Drawers
Don’t force them! First, empty the drawer. Then, rub a candle or a bar of soap on the wooden runners. This provides lubrication. If that doesn’t work, look for swollen wood—a sign of humidity. Lightly sand the sides of the drawer until it slides smoothly.
White Water Rings
Try the simplest solution first: mayonnaise. Seriously. Smear a dollop on the ring, let it sit for a few hours, then wipe off. The oils can sometimes displace the moisture. If that fails, very light sanding is the next step.
Rusty Metal Hardware
Soak hardware in a bowl of white vinegar for a few hours. Scrub with an old toothbrush. For heavy rust, a soak in evaporust is a miracle product. Once clean and dry, protect it with a clear coat of spray sealant to prevent it from returning.
Beyond the Basics: Finding Your Style
Restoration isn’t just about following steps; it’s about developing an eye. Visit antique malls not just to buy, but to look. See how finishes age. Notice the details. Your style will evolve. Maybe you love the bold, two-toned dresser trend. Or perhaps you’re all about the minimalist, Scandinavian look with a light wash.
The most beautiful pieces often mix the old and the new. That mid-century modern credenza? It might look incredible with its original wood top but a freshly painted base in a moody, modern navy. It’s your story to tell.
In a world of disposable furniture, restoring a piece is a quiet act of rebellion. It’s choosing character over convenience. It’s about the satisfaction of looking at a finished project and knowing you saved something from the landfill and gave it a new home. You didn’t just assemble it; you revived it.


